步骤 1.先创建namespace 1 2 3 4 5 6 apiVersion: v1 kind: Namespace metadata: name: nginx labels: name: nginx
2.创建 deployment 1 2 3 4 5 6 7 8 9 10 11 12 13 14 15 16 17 18 19 20 21 22 23 24 25 26 27 28 29 apiVersion: apps/v1 kind: Deployment metadata: namespace: nginx name: nginx-deployment spec: replicas: 1 selector: matchLabels: app: nginx template: metadata: labels: app: nginx spec: containers: - name: nginx image: nginx:latest volumeMounts: - name: config-volume mountPath: /etc/nginx/conf - name: log-volume mountPath: /var/log/nginx volumes: - name: config-volume configMap: name: nginx-config - name: log-volume emptyDir: {}
replicas我们设置了1 代表只启动1个副本,当然我们可以更改数量做水平扩容和缩容
1 2 [root@node1 ~] conf html logs
可以看到node1节点下目录已经有了
3.创建service 1 2 3 4 5 6 7 8 9 10 11 12 13 14 15 16 17 apiVersion: v1 kind: Service metadata: name: nginx-service labels: app: nginx namespace: nginx spec: ports: - port: 9000 name: nginx-service80 protocol: TCP targetPort: 80 nodePort: 31090 selector: app: nginx type: NodePort
我们采用的是NodePort模式
NodePort是Kubernetes中一种Service类型,它允许外部流量通过节点的特定端口访问集群中的Service。当您创建一个NodePort类型的Service时,Kubernetes会在每个工作节点上打开一个端口,从而允许外部流量访问Service。
具体而言,当您创建一个NodePort类型的Service时,Kubernetes会为该Service分配一个随机端口(范围在30000-32767之间),并将此端口映射到Service的端口。然后,集群中每个工作节点都会监听分配的端口,并将来自外部流量的请求转发到Service中对应的Pod。
NodePort类型的Service通常用于需要从集群外部直接访问Service的情况,例如在开发环境中进行调试或测试时。但需要注意的是,使用NodePort暴露Service可能会带来一些安全风险,因此在生产环境中可能会选择其他更安全的方式来暴露Service,例如使用Ingress或LoadBalancer类型的Service。
总之,NodePort类型的Service允许外部流量通过节点的特定端口访问集群中的Service,是Kubernetes中一种常用的Service类型之一
我们暴露的端口是 31090 这是你在外面访问nginx服务的端口
4.创建configmap 还记得我们之前的deployment写过nginx的配置文件是通过configmap来挂载的吗,所以我们需要创建configmap来配置nginx
1 2 3 4 5 6 7 8 9 10 11 12 13 14 15 16 17 18 19 20 21 22 23 24 25 26 27 28 29 30 31 32 33 apiVersion: v1 kind: ConfigMap metadata: name: nginx-config namespace: nginx data: nginx.conf: | user nginx; worker_processes 1; error_log /var/log/nginx/error.log warn; pid /var/run/nginx.pid; events { worker_connections 1024; } http { include /etc/nginx/mime.types; default_type application/octet-stream; sendfile on; keepalive_timeout 65; server { listen 80; server_name localhost; location / { root /usr/share/nginx/html; index index.html index.htm; } error_page 500 502 503 504 /50x.html; location = /50x.html { root /usr/share/nginx/html; } } }
nginx.conf: | 这行下面之间写nginx的配置即可
测试 我们服务下node1下的nginx服务也就是31090端口
1 2 3 [root@master nginx] NAME READY STATUS RESTARTS AGE IP NODE NOMINATED NODE READINESS GATES nginx-deployment-797d846549-jkchq 1/1 Running 0 23m 192.168.3.127 node1 <none> <none>
看到pod正常在运行
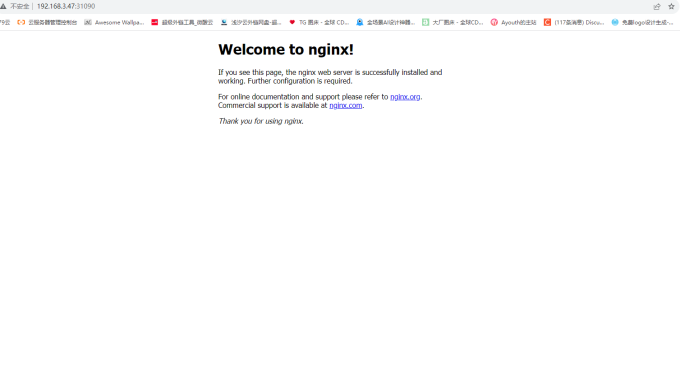
我的node1的ip是 192.168.3.47http://192.168.3.47:31090
可以看到成功显示出了nginx服务的默认页面
当然这只是k8s部署nginx最基本的,后面还有反向代理,LVS 等等…